Have you ever found yourself copy-pasting huge chunks of text into ChatGPT or Claude just to give it context about your current project? Or maybe you’ve wished your AI assistant could just “see” your Google Calendar or read the last five emails you received without you having to act as the middleman.
We’ve all been there. The biggest bottleneck in AI right now isn’t intelligence—it’s access. Your AI is smart, but it’s locked in a box. It doesn’t know about your Notion database, your local files, or your PostgreSQL server.
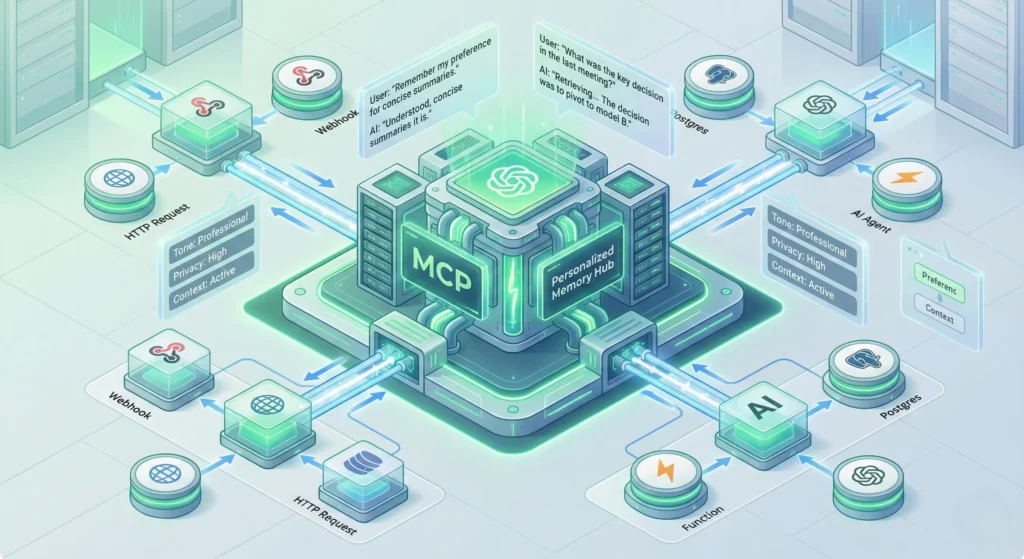
This is where the mcp comes into play. It stands for Model Context Protocol, and it is rapidly becoming the standard way to plug data into Large Language Models (LLMs). But here is the catch: usually, building an mcp server requires writing Python or TypeScript code, setting up environments, and dealing with terminal commands.
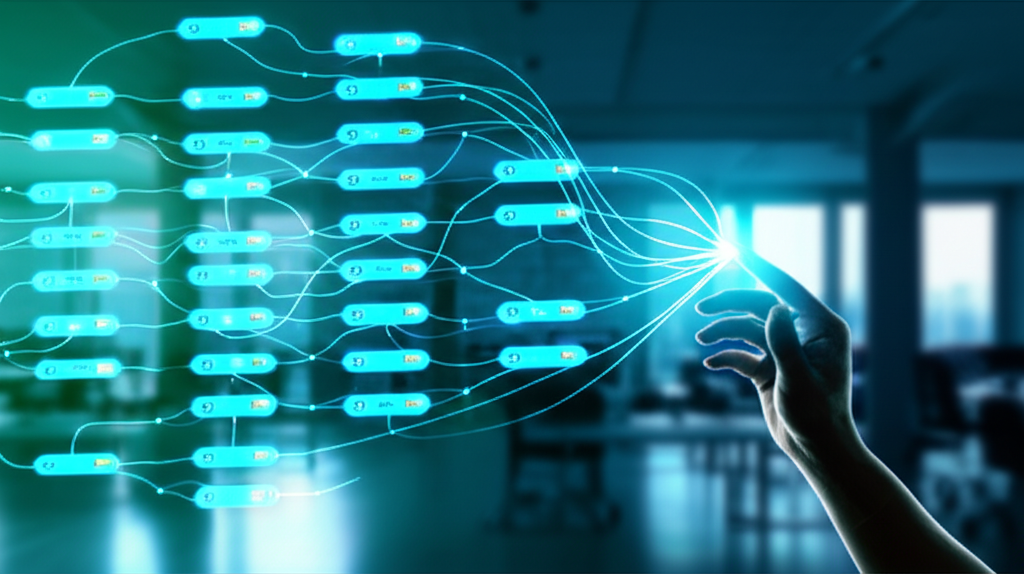
But what if you aren’t a hardcore coder? What if you just want to connect your tools? That is where n8n shines. In this guide, we are going to explore how you can use n8n to build the logic for a personal mcp setup, effectively giving your AI a “brain” that is connected to your actual life.
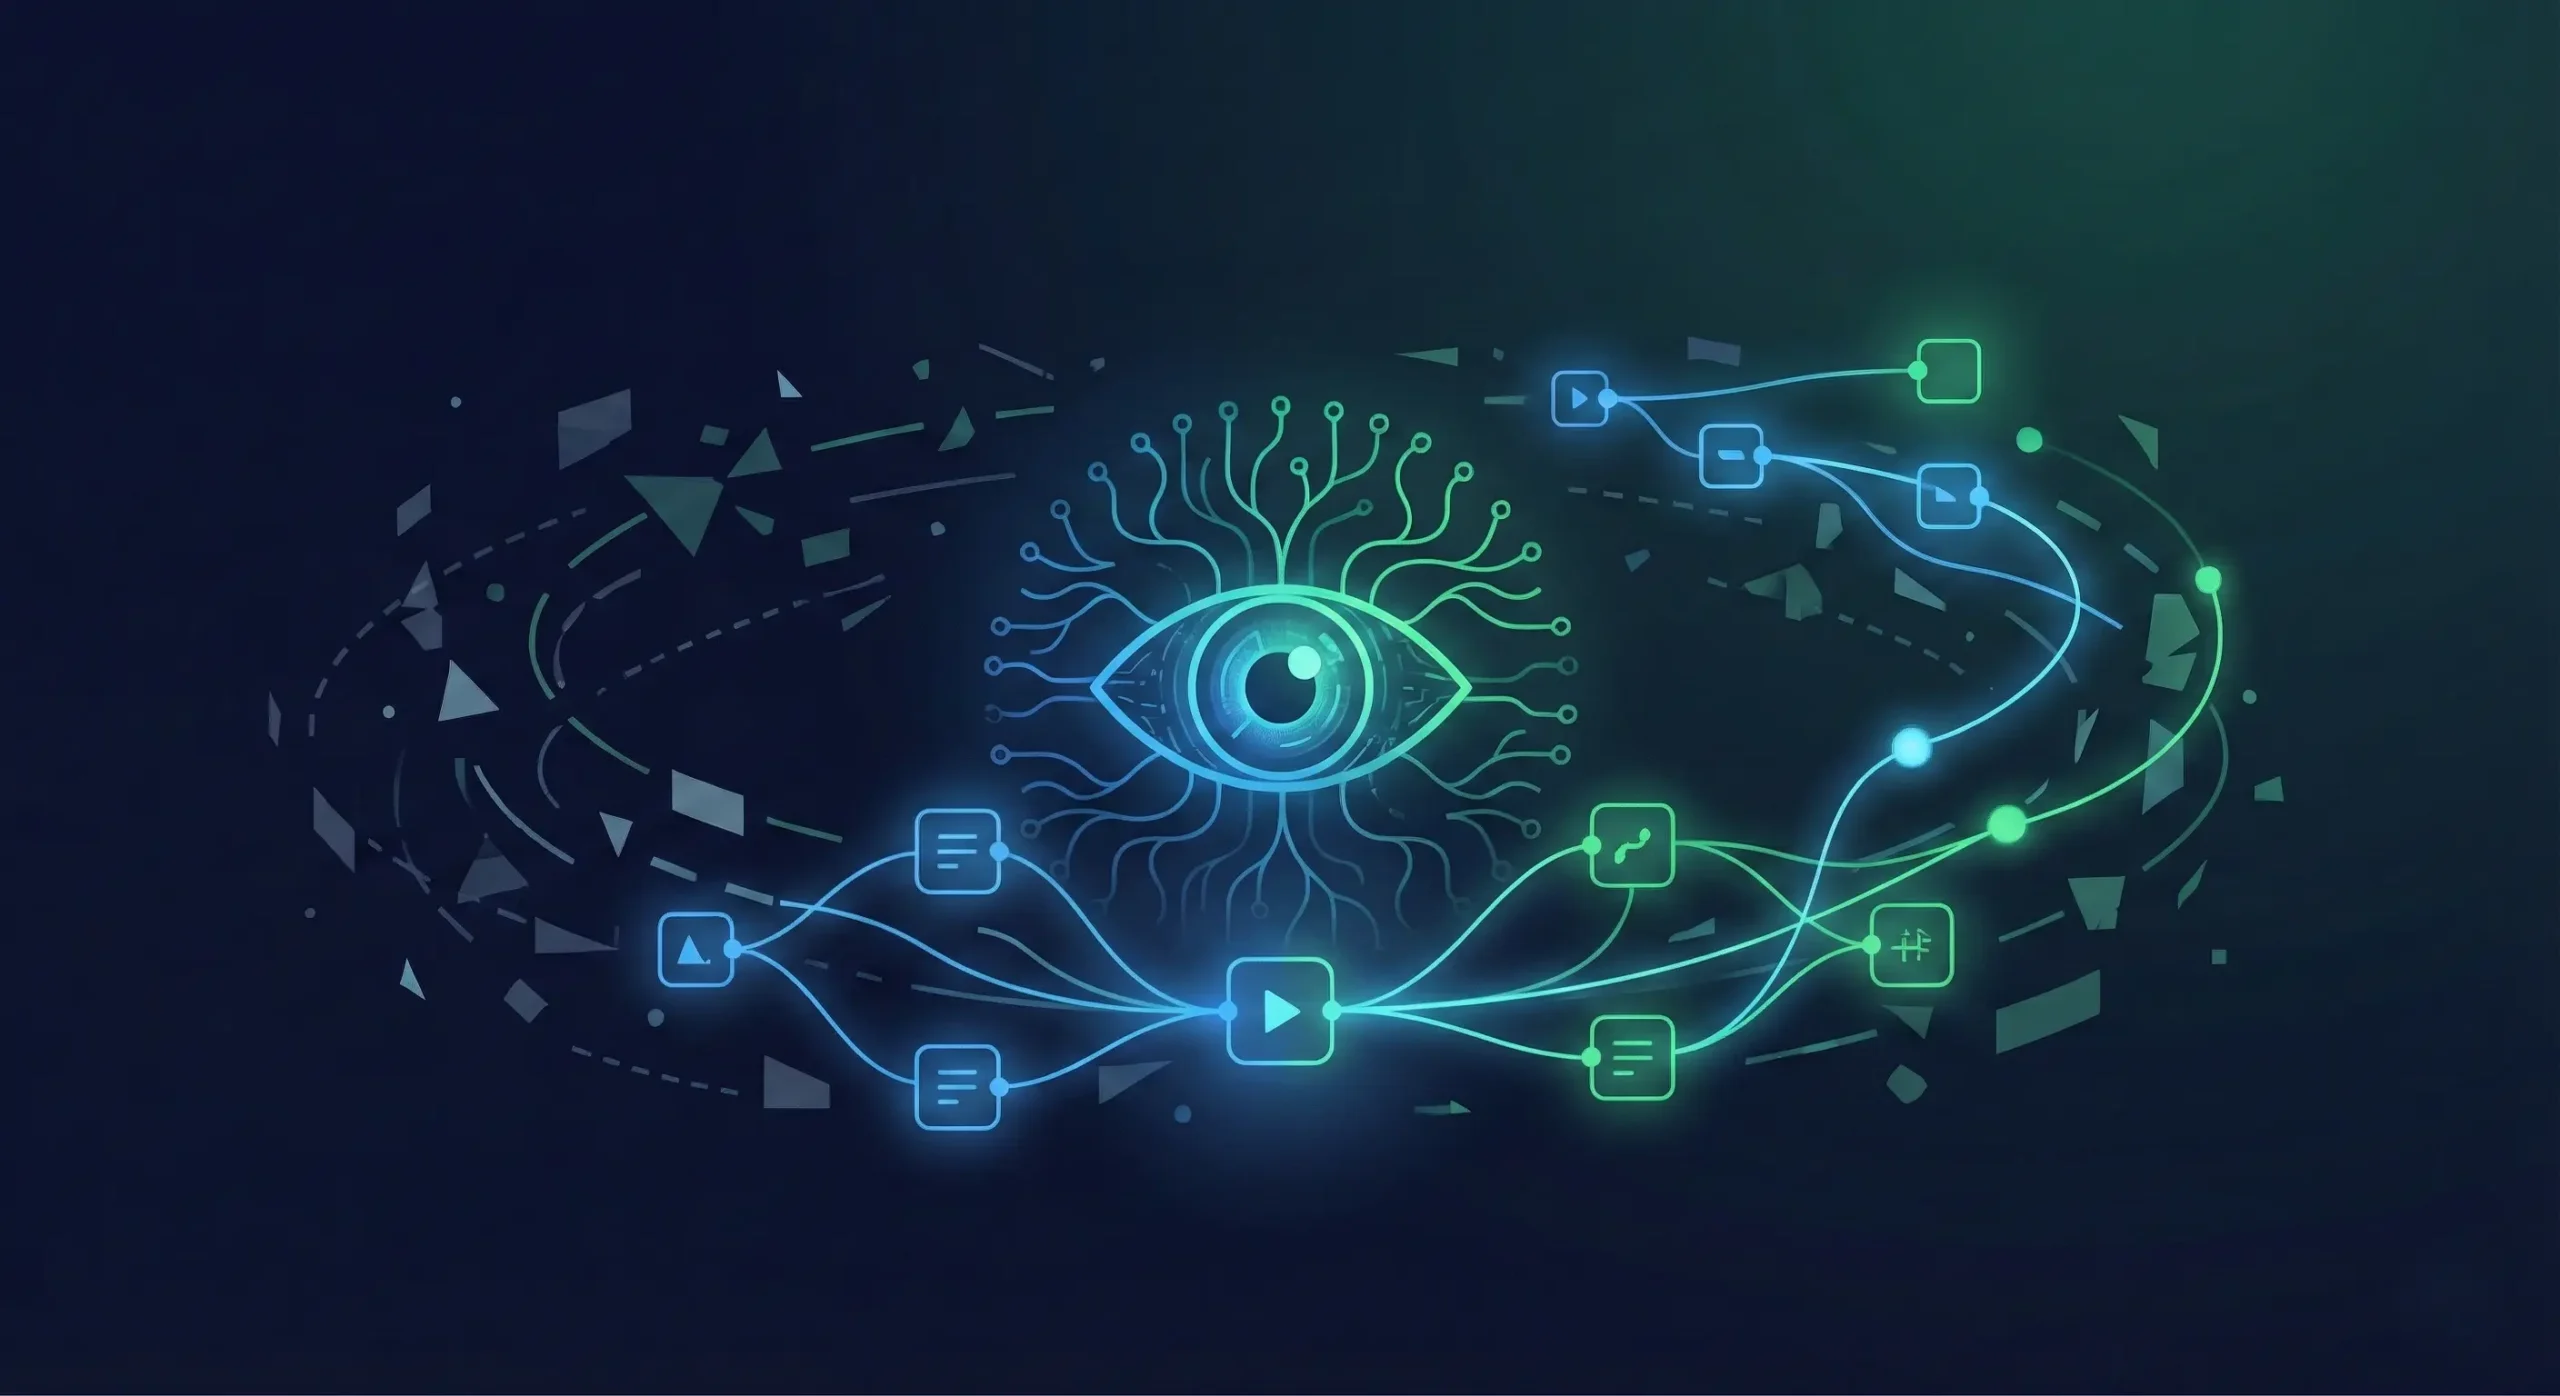
What Exactly is the Model Context Protocol (mcp)?
Before we start dragging and dropping nodes, let’s strip away the jargon. Think of mcp as a universal USB port for Artificial Intelligence. Before this protocol existed, every AI tool had its own messy way of connecting to outside data. It was like trying to find the right charger for an old phone—frustrating and incompatible.
The mcp standard changes that. It provides a clean, standardized way for an AI model (like Claude) to ask for information and for a system (like your computer or server) to give it that information.
When you set up an mcp server, you are essentially giving the AI a menu of “tools” it can use. For example, you might give it a tool called get_calendar_events. When you ask Claude, “Am I free at 2 PM?”, it doesn’t guess. It looks at the mcp tool you provided, executes it, gets the real data, and then answers you.
Why Use n8n for Your mcp Backend?
If you are an AI enthusiast, you might be wondering why you should involve n8n in this process. Why not just write a script?
The answer is speed and flexibility. n8n is the ultimate workflow automation tool. It already has integrations with thousands of services like Slack, Gmail, Airtable, and OpenAI.
- No heavy coding: You don’t need to write complex API requests from scratch. n8n handles the authentication and data formatting for you.
- Visual debugging: You can see exactly what data is flowing in and out of your mcp setup.
- Rapid iteration: Want to change the logic so your AI checks your personal email instead of your work email? In n8n, that is just swapping one node. In code, that’s a rewrite.
By using n8n, you are essentially creating a “low-code” mcp server. n8n acts as the logic engine that fetches the data, while the protocol handles the communication with the AI.
Step-by-Step: Concept of Building the Connection
While the native integration of mcp into n8n is still cutting-edge and evolving, the architecture for building your own personal context engine is straightforward. Here is how you can structure it.
1. Define Your “Tools” in n8n
The first step is to decide what you want your AI to be able to do. Do you want it to check your stock portfolio? Read your to-do list? Let’s say you want it to read tasks from a Notion database.
In n8n, you would start with a Webhook Node. This serves as the entry point. When the AI calls the specific mcp tool, it triggers this webhook.
Next, you connect a Notion Node. You configure it to “Get Many” items from your database. This node does the heavy lifting of talking to Notion’s API.
Finally, you end with a Respond to Webhook Node. This is crucial. You need to format the data coming from Notion into a clean JSON format that the AI can read easily. The cleaner the JSON, the better the AI understands the context.
2. The JSON Schema Magic
For the mcp to understand what your n8n workflow does, you need to define a schema. This is like a user manual for the AI. It tells the AI:
- Name: What is this tool called? (e.g.,
fetch_notion_tasks) - Description: When should the AI use it? (e.g., “Use this tool when the user asks about their current tasks or to-do list.”)
- Parameters: Does the AI need to provide any inputs? (e.g., a date range).
You don’t need to be a developer to write this. You can actually ask an LLM to “write a JSON schema for a tool that fetches tasks from Notion,” and it will generate it for you.
3. Connecting to the AI Client
Once your n8n workflow is active, you have a URL (your webhook URL). To make this a true mcp setup, you would typically use a lightweight “bridge” or a generic HTTP mcp server running locally on your computer.
You would configure your Claude Desktop config file (usually located at ~/Library/Application Support/Claude/claude_desktop_config.json on Mac) to point to this bridge. The bridge simply forwards the AI’s request to your n8n webhook and passes the answer back. This keeps your setup modular. If n8n goes down, your computer is fine. If you switch AI models, your n8n logic stays the same.
Real-World Use Cases for Your Personal mcp
Once you have the pipeline set up, the possibilities are endless. Here are a few ideas to get your creative juices flowing:
The “Morning Briefing” Agent
Create a workflow in n8n that pulls the weather, your first 3 calendar meetings, and your top priority Jira tickets. Expose this as a single mcp tool called get_morning_brief. When you sit down with your coffee, you just type “Give me my briefing” into Claude, and it generates a personalized summary based on real-time data.
The Database Chatbot
If you run a small business, you might have orders sitting in a SQL database or a Google Sheet. You can build an n8n workflow that takes an Order ID as an input and returns the shipping status. Now, you can ask your AI, “Where is order #12345?” and it will actually check the database via the mcp connection rather than hallucinating an answer.
Smart Home Controller
Got Home Assistant hooked up to n8n? You can expose tools to control your lights or check if the garage door is open. This turns your LLM chat window into a command center for your house.
Security and Best Practices
With great power comes great responsibility. When you are building a personal mcp server, remember that you are opening a door between an AI model and your private data.
Authentication is key. Ensure your n8n webhooks are not just public URLs that anyone can guess. Use header authentication or secret tokens. When you configure the tool definition, ensure that the bridge passes this secret token to n8n.
Limit the scope. Don’t give your AI “delete” permissions unless you are very brave. Stick to “read” operations (GET requests) when you are first starting out. You don’t want a hallucinating AI to accidentally wipe your entire Notion workspace because it misunderstood a command.
The Future of Personal AI Automation
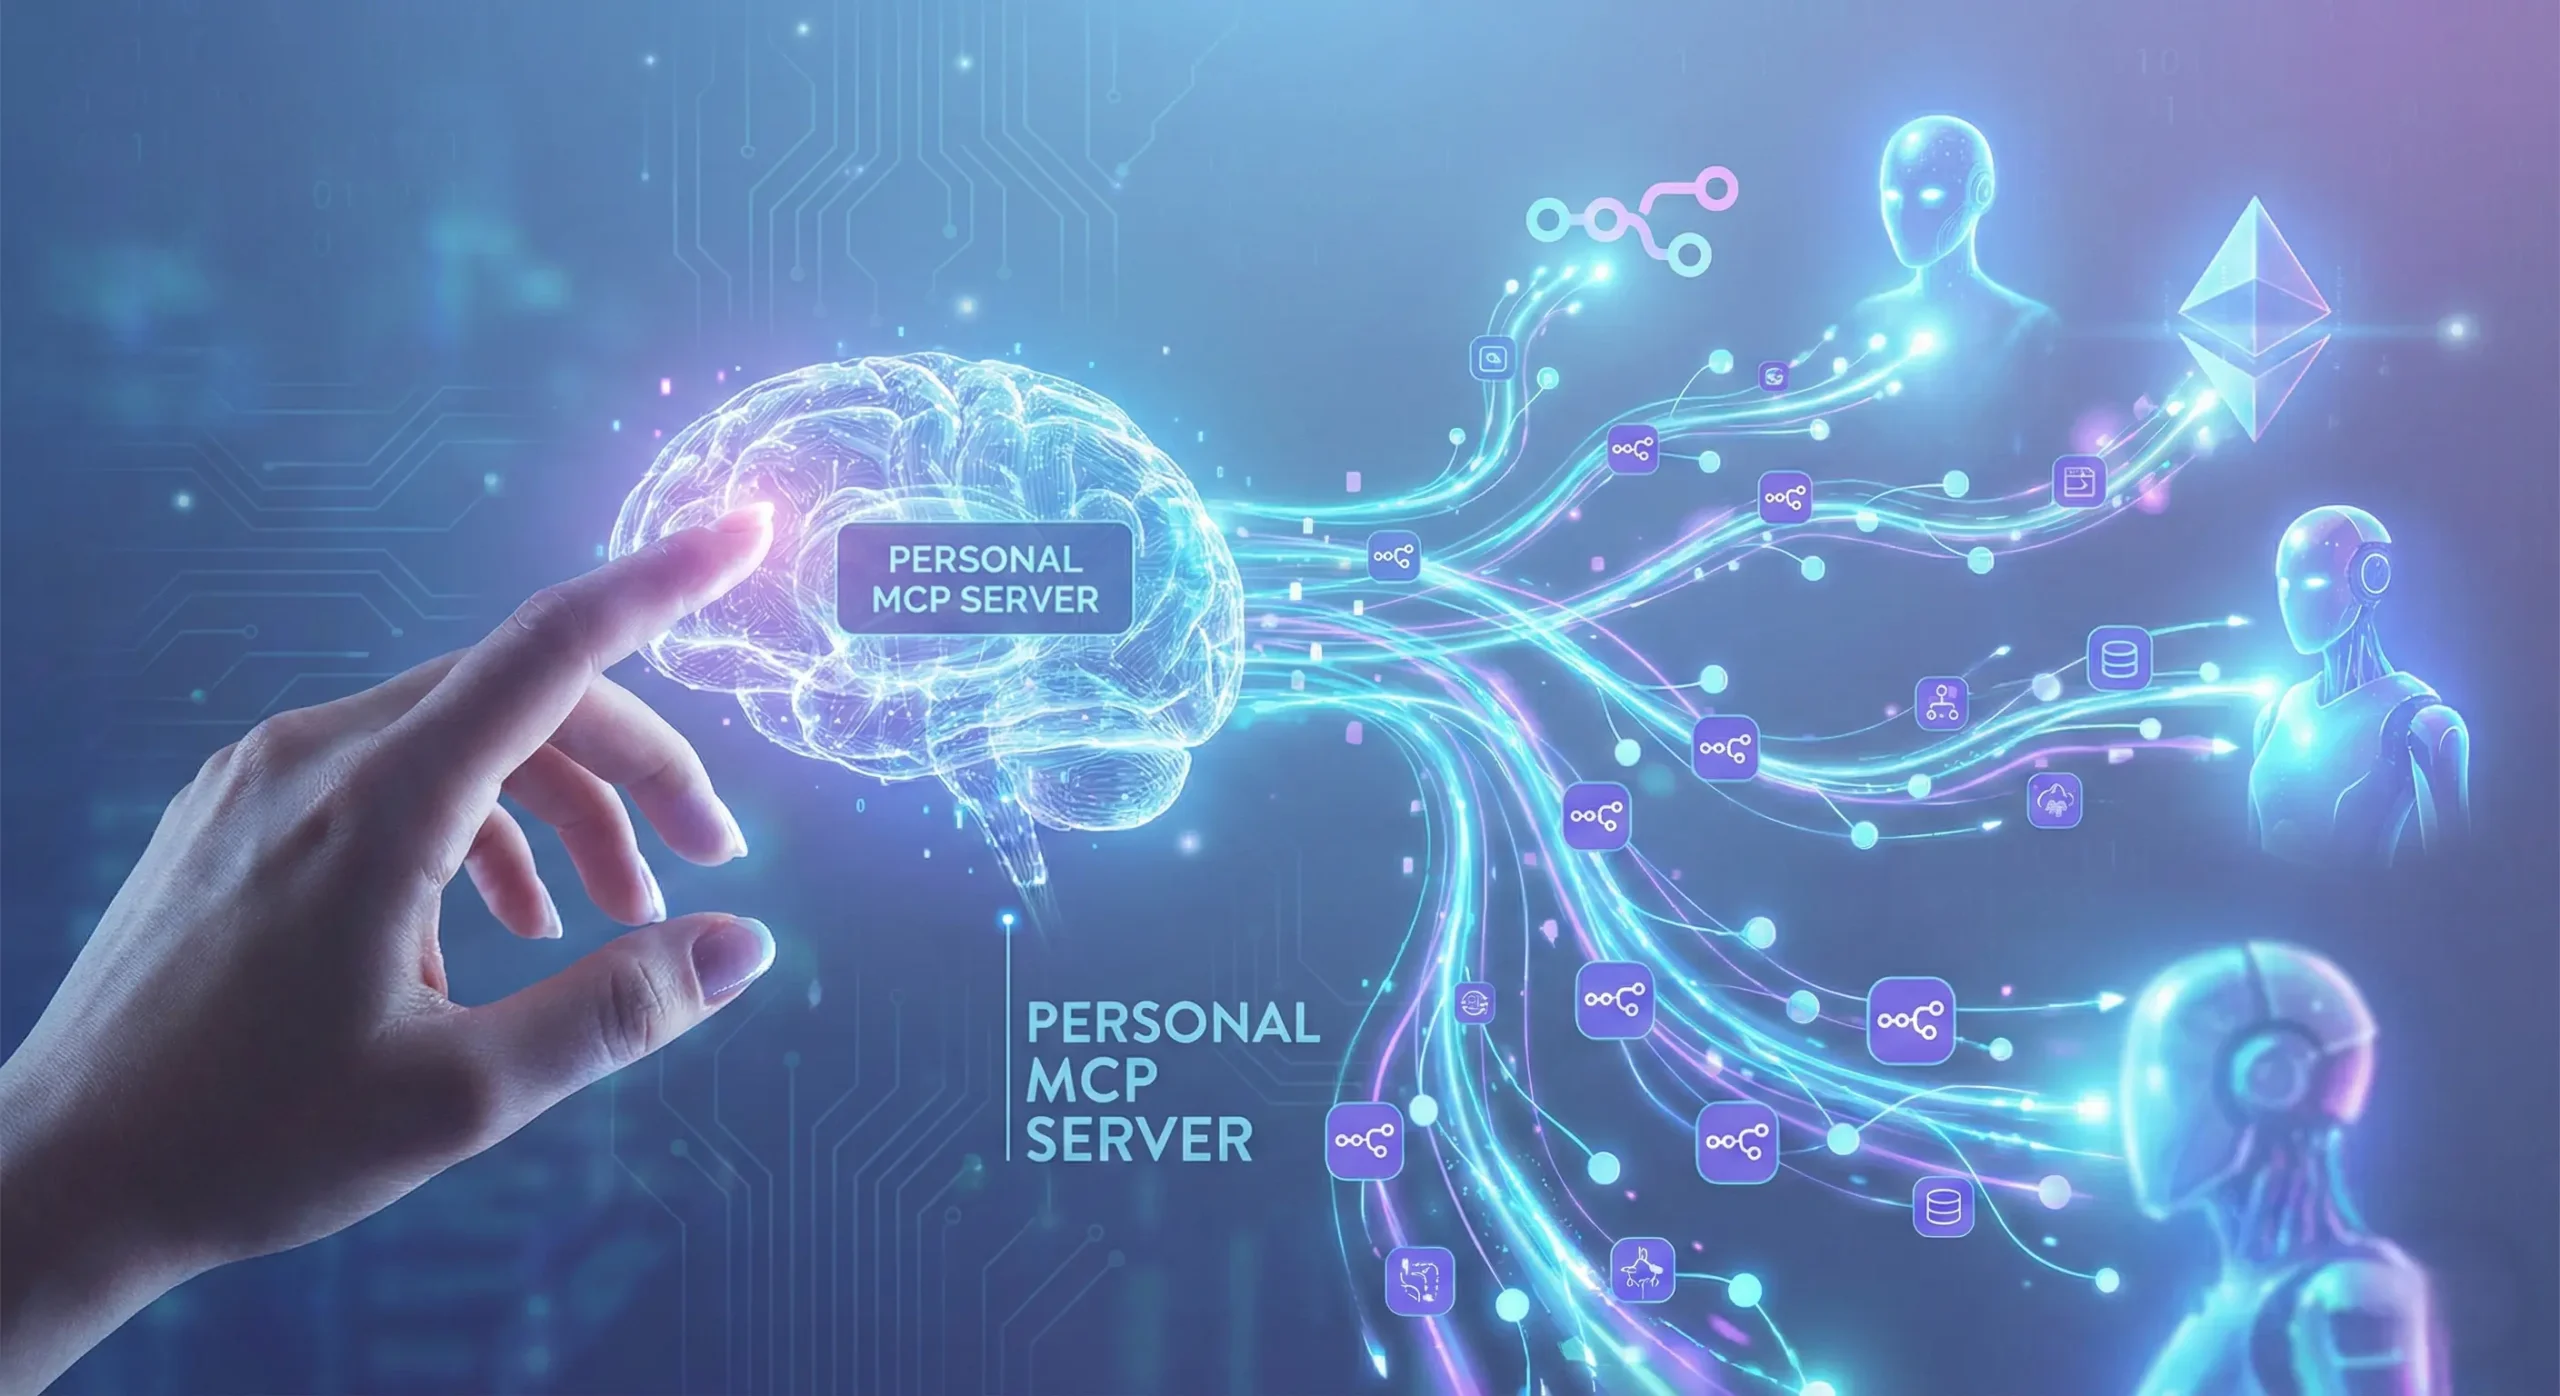
We are in the early innings of the mcp revolution. Right now, it feels a bit like the early internet—a little messy, a little technical, but incredibly exciting. By combining the structure of the Model Context Protocol with the visual ease of n8n, you are effectively building your own operating system for intelligence.
You are no longer limited by what the AI companies think you need. You are building the features you need, connecting the data you care about, and automating the boring stuff so you can focus on the big picture.
So, fire up your n8n instance, open your config files, and start building. Your AI is ready to learn.
Have you tried connecting an LLM to your local data yet? What was the biggest challenge you faced? Let me know in the comments below!